First Steps in Github Actions
Learning Basic Concepts
Today I started my first steps into Github Actions. Similarly to when looking into Docker, I started learning the basic concepts from a tutorial by Nana.
I just created a new repository. I will test my first Github Action here.
The Hello World Action
Github has a “Simple Workflow” template (go to your repository > Actions > Simple Workflow). I am creating a simple hello world example with the template as provided in a file named blank.yaml (only changed workflow name).
# This is a basic workflow to help you get started with Actions

name: Hello World Workflow Example

# Controls when the workflow will run
on:
  # Triggers the workflow on push or pull request events but only for the "main" branch
  push:
    branches: [ "main" ]
  pull_request:
    branches: [ "main" ]

  # Allows you to run this workflow manually from the Actions tab
  workflow_dispatch:

# A workflow run is made up of one or more jobs that can run sequentially or in parallel
jobs:
  # This workflow contains a single job called "build"
  build:
    # The type of runner that the job will run on
    runs-on: ubuntu-latest

    # Steps represent a sequence of tasks that will be executed as part of the job
    steps:
      # Checks-out your repository under $GITHUB_WORKSPACE, so your job can access it
      - uses: actions/checkout@v3

      # Runs a single command using the runners shell
      - name: Run a one-line script
        run: echo Hello, world!

      # Runs a set of commands using the runners shell
      - name: Run a multi-line script
        run: |
          echo Add other actions to build,
          echo test, and deploy your project.
Excecution of The Action
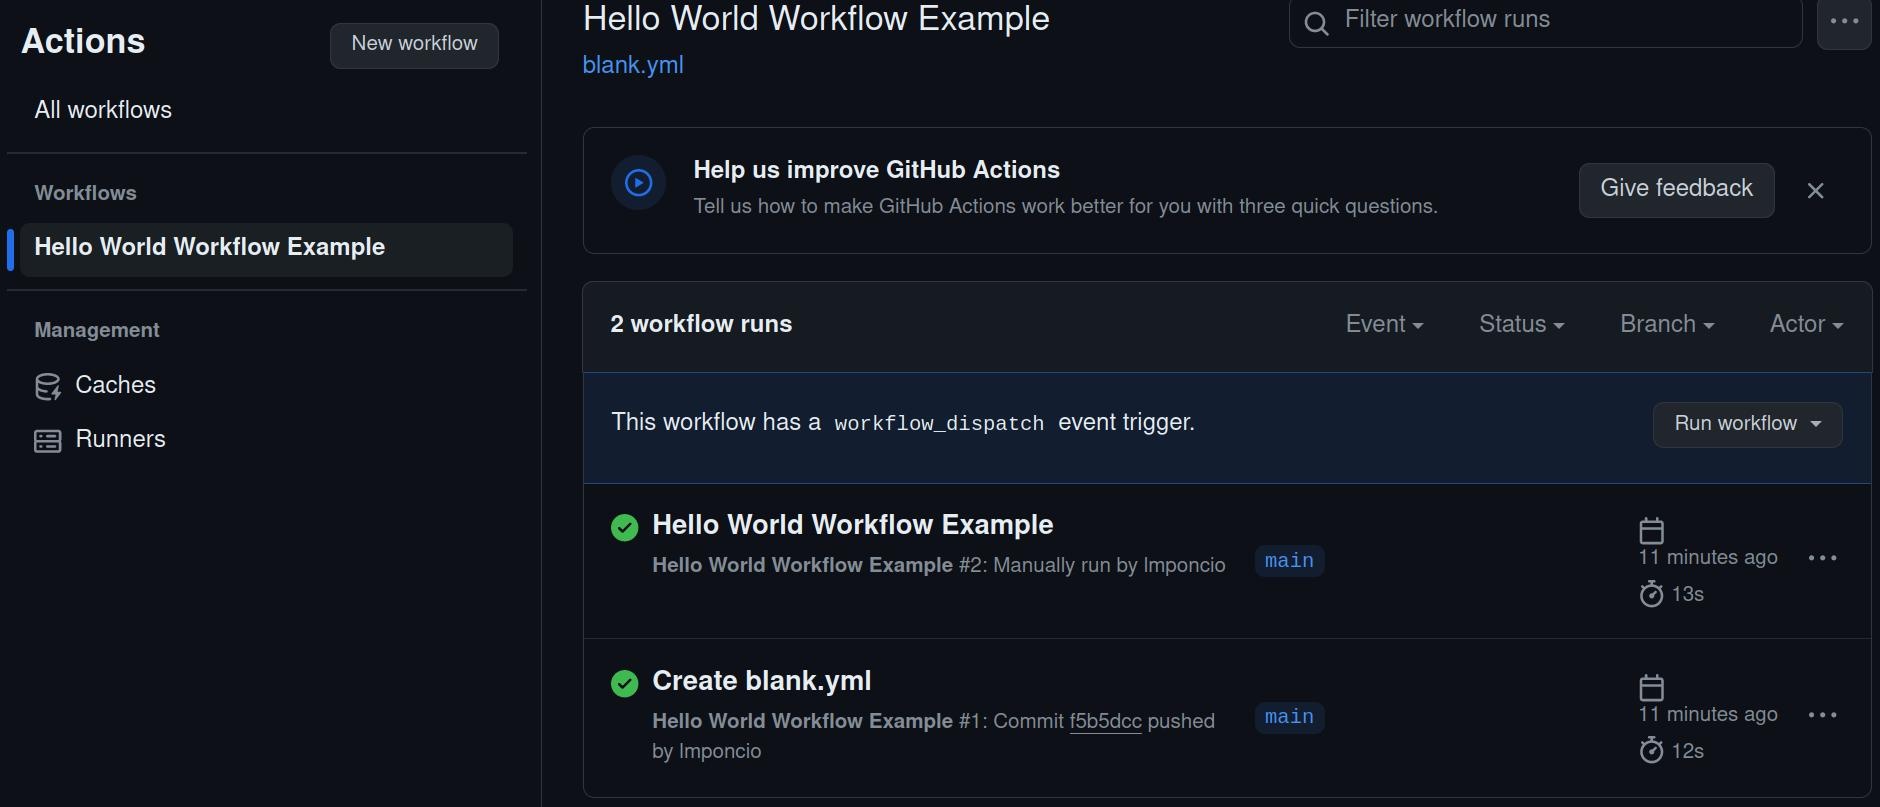
Since the action is configured to be triggered on push, the push of the file containing the action itself triggers the first execution. After that, I was able to trigger it again manually using GitHub web app UI thanks to the workflow_dispatch: which allows that possibility.

Checking The Outputs
By clicking on the three dots in a workflow run, and then in “View workflow file”, I can see the expected outputs.
